Pilothouse Console
I ordered more meranti BS1088 plywood, fiberglass and epoxy. While waiting for the orders to arrive, I designed the pilothouse console.
 |
Side view Rear view Front view
Pilothouse console
|
Design details...
 |
| Elevation |
 |
| Layout on plywood panel |
 |
| Detail dimensions for windshield |
Materials have arrived. Time to start cutting and glassing.
I saved the plywood pieces cut out to make the openings for the side windows and windshield. The glass supplier used the plywood pieces as templates for cutting the 1/4-inch laminated safety glass windows and windshield.
 |
| Pilot house side panels cut and glassed |
 |
Exterior window frames cut from select pine and epoxied to the
exterior of the pilot house |
 |
| Interior window frames cut from ½ ACX and glassed |
 |
Interior window frames painted. These will be installed using
screws to allow future window maintenance. |
 |
| Backer added to top of pilot house side panels |
 |
| Edge stiffener added to pilot house side panels |
 |
| Pilothouse console clamped for gluing |
 |
| Pilothouse console clamped for gluing |
 |
| Backer added to top of pilot house front |
 |
| Backer added to top of pilot house rear |
 |
| Curved roof beams, 3/4 plywood. cut, routed, sanded and glassed |
 |
| Roof beams installed |
 |
3/8 plywood roof panel, inside glassed then the weave is filled
and it is sanded for future varnish |
 |
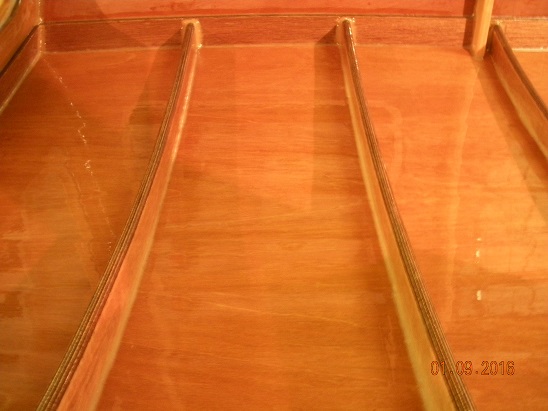
| Kerfs cut in outside of the roof panel. 4" OC, ¼" deep |
 |
| Roof panel bent over roof beams and epoxied in-place |
 |
| Masking roof outside before filling kerfs |
 |
| Kerfs filled with thickened epoxy and masking removed |
 |
| Glass the roof panel |
 |
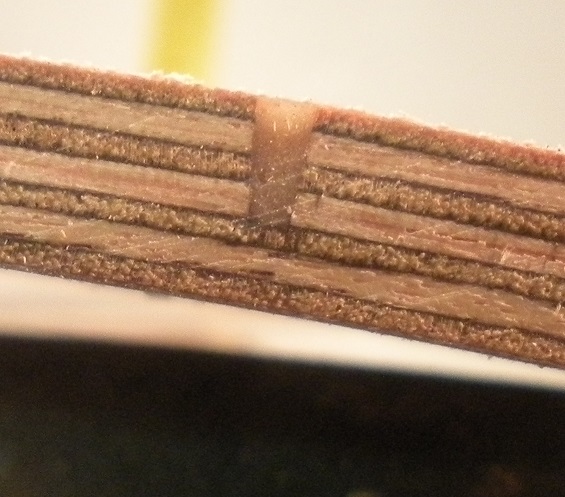
After cutting the roof panel to final dimensions,
the filled kerfs can be examined |
 |
| Route, sand and glass the roof edges |
 |
| Fill the weave on the roof panel exterior |
 |
| Flip the pilot house and fillet the roof beams to the roof panel |
 |
| Two coats of varnish on the inside of the roof |
 |
| Cut, route, sand and epoxy the pilot house nailers |
 |
Install nailers along bottom edge of top half of pilot house
and start varnishing the exterior |
 |
Interior of pilothouse console glassed to deck with
17oz. 4-inch biax |
 |
| Exterior of pilothouse console glassed to deck |
 |
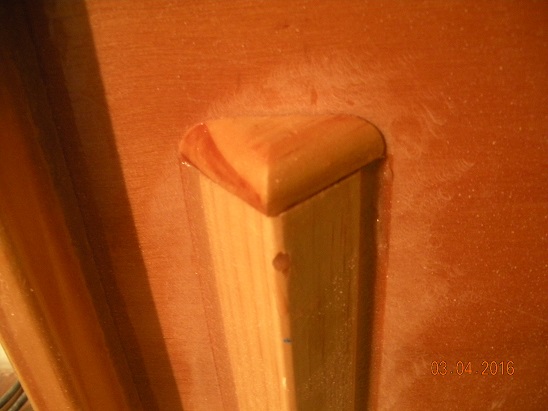
Vent tube, for venting the bulkhead chamber beneath the deck,
installed on the inside wall of the pilothouse, with a cap. |
It is a sunny windy day so I thought I would drag her outside and do some sanding in the wind.
 |
| She hasn't seen the light of day in a long time. |
 |
| It is going to be a tight fit... |
 |
| Oh shit! Gonna have to raise the house 1 inch. |


No comments:
Post a Comment
Note: Only a member of this blog may post a comment.