 |
| Side view Rear view Front view Pilothouse console |
Design details...
 |
| Elevation |
 |
| Layout on plywood panel |
 |
| Detail dimensions for windshield |
I saved the plywood pieces cut out to make the openings for the side windows and windshield. The glass supplier used the plywood pieces as templates for cutting the 1/4-inch laminated safety glass windows and windshield.
 |
| Pilot house side panels cut and glassed |
 |
| Exterior window frames cut from select pine and epoxied to the exterior of the pilot house |
 |
| Interior window frames cut from ½ ACX and glassed |
 |
| Interior window frames painted. These will be installed using screws to allow future window maintenance. |
 |
| Backer added to top of pilot house side panels |
 |
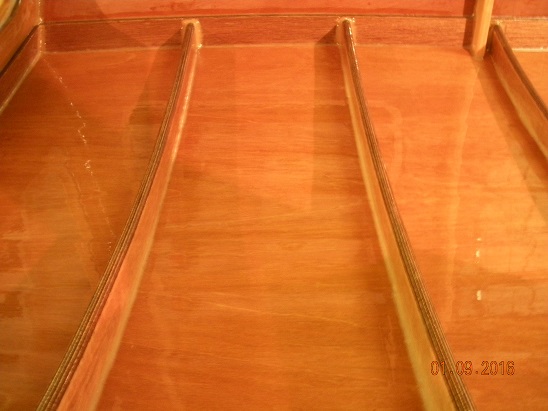
| Edge stiffener added to pilot house side panels |
 |
| Pilothouse console clamped for gluing |
 |
| Pilothouse console clamped for gluing |
 |
| Backer added to top of pilot house front |
 |
| Backer added to top of pilot house rear |
 |
| Curved roof beams, 3/4 plywood. cut, routed, sanded and glassed |
 |
| Roof beams installed |
 |
| 3/8 plywood roof panel, inside glassed then the weave is filled and it is sanded for future varnish |
 |
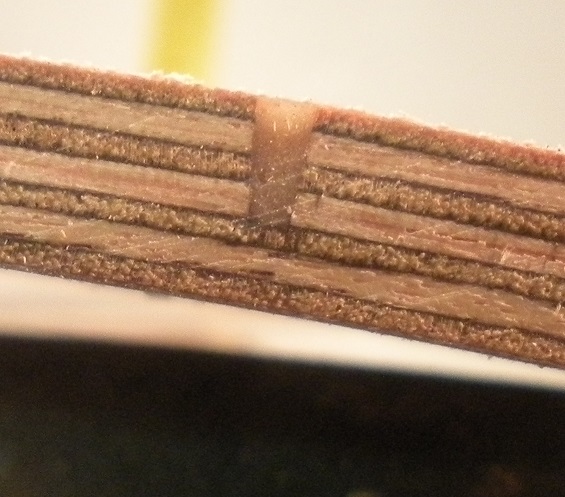
| Kerfs cut in outside of the roof panel. 4" OC, ¼" deep |
 |
| Roof panel bent over roof beams and epoxied in-place |
 |
| Masking roof outside before filling kerfs |
 |
| Kerfs filled with thickened epoxy and masking removed |
 |
| Glass the roof panel |
 |
| After cutting the roof panel to final dimensions, the filled kerfs can be examined |
 |
| Route, sand and glass the roof edges |
 |
| Fill the weave on the roof panel exterior |
 |
| Flip the pilot house and fillet the roof beams to the roof panel |
 |
| Two coats of varnish on the inside of the roof |
 |
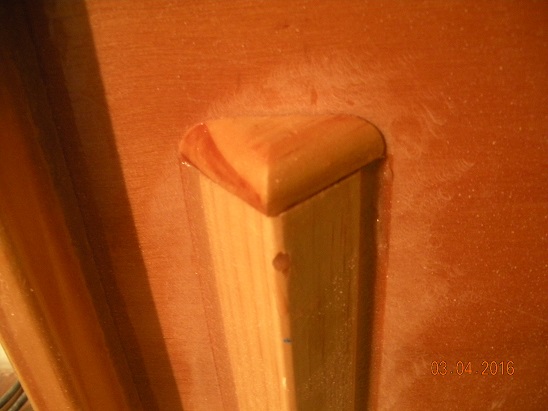
| Cut, route, sand and epoxy the pilot house nailers |
 |
| Install nailers along bottom edge of top half of pilot house and start varnishing the exterior |
 |
| After three coats of varnish on the exterior, flip it over |
 |
| Scouring pad on RO sander for lightly scuffing varnish between coats |
 |
| Final of the four coats of varnish on the roof |
 |
| Pilothouse console in final position. Pilothouse varnish complete (2 coats on interior surfaces, 3 coats on exterior vertical surfaces, 4 coats on exterior horizontal surfaces) |
 | |
|
 |
| Interior |
The top half of the pilothouse console is fastened to the bottom half with brass wood screws, from the inside, into the nailer. The horizontal strip of pine beneath the window is the nailer - more meat for the screws to grip.
 |
| Pine strip nailer on outside of top half |
 |
| Column splice piece on inside |
 |
| Column splice and top half fastened to bottom half with brass screws from inside |
 |
| Column splice and top half fastened to bottom half with brass screws from inside |
 |
| Interior of pilothouse console glassed to deck with 17oz. 4-inch biax |
 |
| Exterior of pilothouse console glassed to deck |
 |
| Vent tube, for venting the bulkhead chamber beneath the deck, installed on the inside wall of the pilothouse, with a cap. |
It is a sunny windy day so I thought I would drag her outside and do some sanding in the wind.
 |
| She hasn't seen the light of day in a long time. |
 |
| It is going to be a tight fit... |
 |
| Oh shit! Gonna have to raise the house 1 inch. |


